¶ Contract folders
The contract folder contains the contract period. Several active contracts can co-exist in the same folder, at the same time.
¶ Create contract folders
- Select “Contract Management” in the menu.
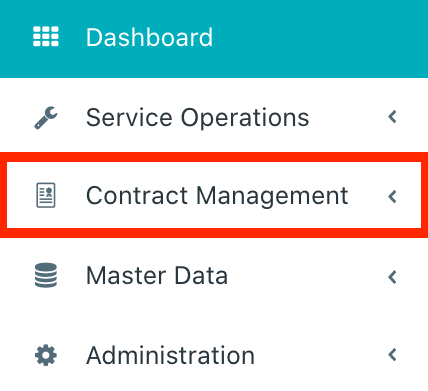
- Select “Contract Folders”.

- Select “New”.

- Add a contract number.
- Select the contract folder date.
- If necessary, add a description to the contract.
- Add general terms of conditions.
- Select the service provider.
- Select the service provider contact.
- Select the business times.
- Select the debtor (customer).
- Selct the debtor contact.
- Select the invoice company.
- Select the default invoice company.
- Select the default invoice company contact.
- Select the currency.
- Select the language.
The language ist valid for all documents (contracts, quotes and reports)
- Add further important information.
The internal information are not visible to the customer.
¶ Create contract periods
- Select “Contract Management” in the menu.
- Select “Contract Folders”.
- Open the required folder.
- Select the tab "Contract Periods".

- Select “New”.

- Select the contract variant.
All boxes are pre-filled after selecting the contract variant. Changes are still possible until the contract is accepted.
- Add or change the contract period text.
- Add internal infomation.
- Select the start date and end date of the contract period.
- If you want the contract to renew automatically, select the checkbox, then select the renewal interval and the cancellation period.
- Change the service actions if required.
- Add or remove contract features.
- Select the locations.
- Select the installations.
- Select the equipments.
- Add the total sum for the contract.
- Select the invoice interval.
- Select the payment term.
- Tick the checkboxes if the contract includes a travel flat charge, has a fix price or the contract period is collective billed.
- Select the schedule interval for the service planning.
- Add or remove SLA's.
- Add the purchase order number or the purchase order date if available.
- Finally click “Save”.
The contract period status is “Draft”. Changes of all the settings are possible.
- Click “Accept” when the contract is accepted by the customer.

¶ Renewal of contract periods
- Select “Contract Management” in the menu.
- Select “Contract Folders”.
- Open the required folder.
- Select the tab contract periods.
- Select the to be renewed contract period.
- Select “Next Period”.

- The system will automatically make a copy of the previous one. Everything will be pre-filled. Changes of all the settings are possible until the contract is accepted.
- Make changes if necessary and save the new contract period.
- Finally click “Save”.
The contract period status is “Draft”. Changes of all the settings are possible.
- Click “Accept” when the contract is accepted by the customer.
¶ Terminate contract periods
- Select “Contract Management” in the menu.
- Select “Contract Folders”.
- Open the required folder.
- Select the tab contract periods.
- Select the to be terminated contract period.
- Select “Edit”.

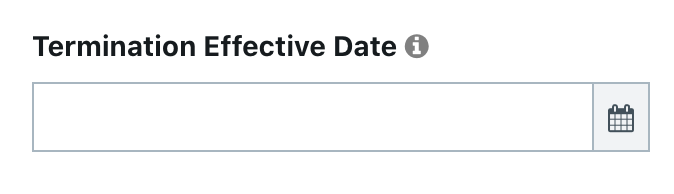
- Enter the termination effective date.
- Finally click “Save”.